

You may remember that when we first bought the house, the formal living room was only barely separated (by one pillar) from the room next to it. They were using that room as a formal dining room. But since Big Daddy and I are very informal people, we quickly decided to wall in that space to become our new family room, and to make the adjoining room (formerly their family room) into our dining room. So first we had to tear down the wall separating their family and dining rooms and put one up to separate the formal living room with our new family room....
Before the wall went up...
After the wall went up...

We built in these half walls to give the new family room some definition from the hallway...

Next we tore out 2/3 of the other wall...

Originally we left part of the wall up. That gaping hole in the ceiling is where the spiral staircase came down from the 2nd floor hallway. We planned on rebuilding it, but we didn't know if we'd need part of the wall for support or not...


Once that wall came down, and the new wall went up at the other side, we looked at that space and thought, "That is going to be the world's smallest family room! And how much sense does it make to have a tiny family room in a nice spacious house? It's the heart of the home. And, like this, it wouldn't even fit our 3-person sofa." So......
BAM! We knocked that wall down and bumped the whole room out another 10 feet.


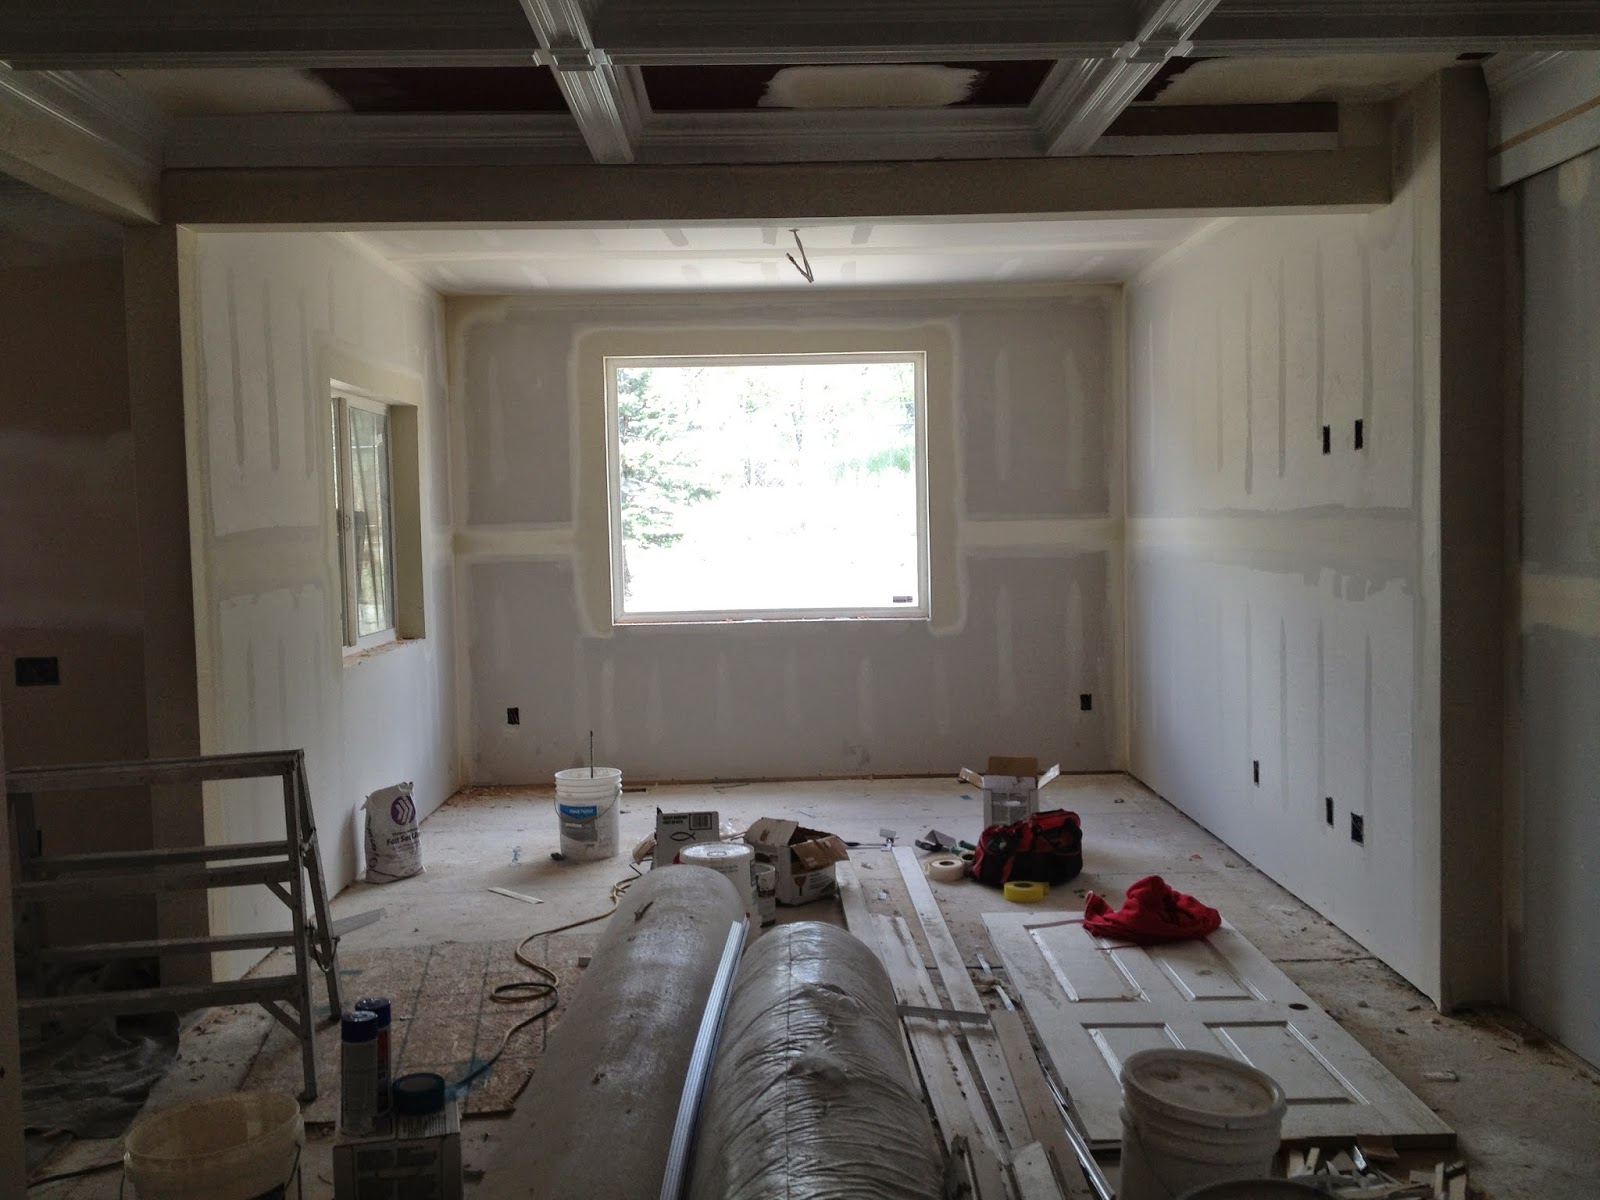
The action slowed down for a couple of months and it seemed like forever before the roof got put on. Every time it rained or snowed (this was Jan-April) I rushed over to make sure there were tarps up and nothing was leaking into the house and onto our freshly installed hardwood floors! And then suddenly one day there was a roof, four walls, windows, and drywall. Then the new HVAC got piped in, insulation was sprayed in, electrical was installed, and finally it looked more like this:

Next we had to figure out what to do about the beautiful coffered ceiling from the old dining room. It was gorgeous (minus the burgundy paint, of course). and we wanted to carry it through to the new addition. But that trim had been custom made, 18 years previous, and we had little hope of finding the exact same trim to copy on the other side. So we thought about ripping it down to create continuity. But lucky for us, our contractor had a fantastic finish work guy who came over and said he could match it exactly. So after new support beams were put in place to carry the load of the 2nd story, the coffered ceiling was put in. And it looked PERFECT. I painted it the same shade of blue as the kitchen (Copen Blue by Sherwin Williams), and voilà!

The last touch was remodeling the columns and trimming the half walls. Because the old columns had to be cut into to add/remove walls, and because they were more ornate than our taste, we had our trim guy wrap the old ones with a more simple, Craftsman style. I love how they turned out.

So here are the final before and afters. Sadly, I didn't take a single picture of the family room before we started working on it from straight on. So you really have to adjust your perspective to see the transformation. (Pretend you're standing at the left of the top picture looking towards the 3 doors.)

This is the view from the dining room and kitchen...
Before...

After...

This is the view from the far side of the family room looking back toward the hallway.
Before...

After...

And this is the straight on view of the family room.

Mostly I used bright red and aqua for my accent colors. I love that combination! I had the pillow covers made on etsy because sewing a square is way over my head. I hope you like how it turned out.
Leave a comment when you stop by!
Next up: The Dining Room!
.


No comments:
Post a Comment